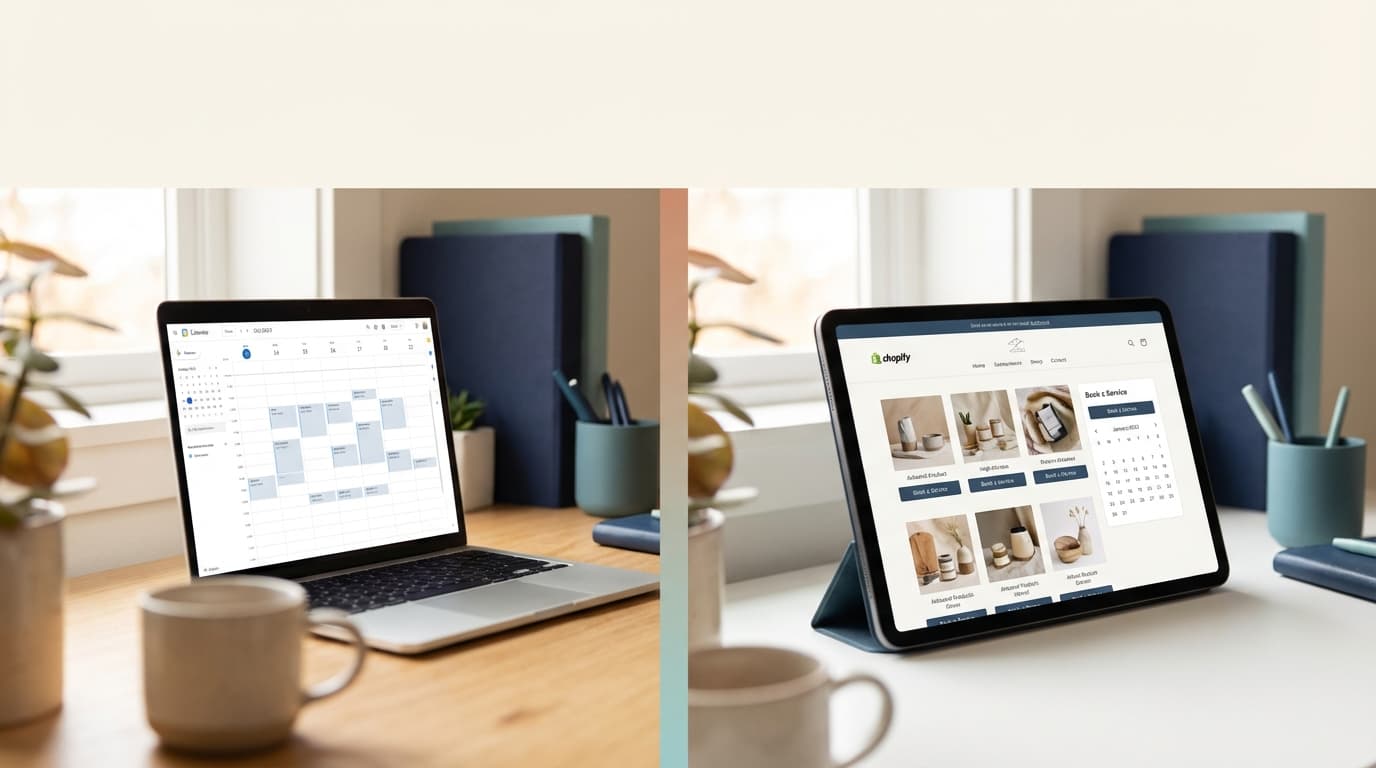
If you run a brick-and-mortar store alongside your online presence, you know the challenge of keeping everything in sync. Appointment booking adds another layer of complexity—but it doesn't have to.
This guide shows you how to create a seamless booking experience that works both online and in-store with Shopify POS.
Why Integrate Booking with POS?
Modern retail is omnichannel. Your customers might:
- Book online and check in at your store
- Walk in and book their next appointment before leaving
- Purchase products during their service appointment
- Use gift cards across both online and in-store bookings
A unified system makes all of this possible without manual data entry or syncing spreadsheets.
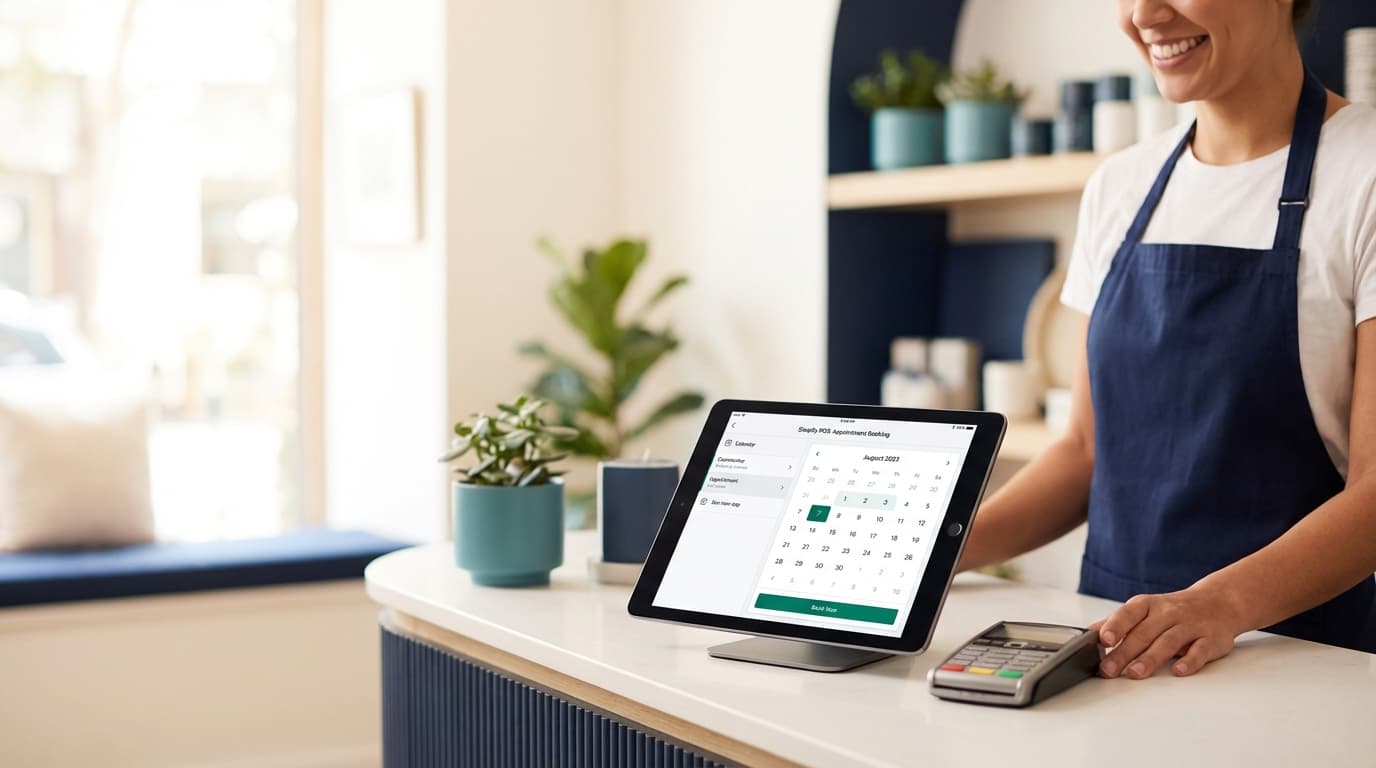
Setting Up In-Store Booking
Step 1: Enable POS Integration
In your Easy Appointment Booking dashboard:
- Navigate to Settings → Integrations
- Find Shopify POS and click Connect
- Select which locations should have booking enabled
- Configure your check-in preferences
Step 2: Configure Your Staff View
Your staff needs quick access to today's appointments and the ability to manage walk-ins. Set up the staff view by:
// Example POS tile configuration
{
  "tile_type": "appointments",
  "display": "today_schedule",
  "actions": ["check_in", "no_show", "reschedule"],
  "show_customer_notes": true
}
Step 3: Set Up Check-In Workflow
When a customer arrives for their appointment:
- Staff opens the Appointments tile on POS
- Finds the customer by name or confirmation code
- Taps Check In
- Customer's appointment status updates across all systems
Handling Walk-In Bookings
Not every customer books ahead. Here's how to handle walk-ins smoothly:
Quick Booking from POS
Train your staff to use the quick booking flow:
- Tap New Booking on the POS Appointments tile
- Select the service (synced from your booking settings)
- Choose an available time slot
- Enter customer details (or select existing customer)
- Complete the booking
The customer automatically receives a confirmation email, and the slot is blocked across all booking channels.
Managing Availability in Real-Time
If a staff member becomes unavailable (break, sick, etc.), you can update availability right from the POS:
- Block specific time slots
- Mark entire days as unavailable
- Adjust individual staff schedules
Changes sync immediately to your online booking widget.
Combining Services and Products
One of the most powerful features is the ability to combine service appointments with product sales in a single transaction.
The Consultation-to-Purchase Flow
Here's how a typical hair salon might use this:
- Customer books a color consultation (service)
- During the consultation, stylist recommends products
- Staff adds products to the same cart as the appointment
- Customer pays for everything in one transaction
- Appointment appears as a line item on the receipt
Setting Up Mixed Carts
Enable mixed carts in your settings:
- Go to Settings → POS
- Enable Allow appointments in cart with products
- Set your Appointment display name format
- Configure tax handling for services vs products
Customer Profiles: The Single Source of Truth
Every interaction—whether online or in-store—updates the same customer profile:
- Appointment history
- Purchase history
- Service preferences
- Notes and tags
- Loyalty points
This means your staff always has context when a customer walks in:
"I see you had a massage with us three weeks ago, Sarah. How did that shoulder feel after? Ready to book your next session?"
Reporting Across Channels
Track your booking performance across both online and POS:
| Metric | Online | POS | Total |
|---|---|---|---|
| Bookings | 145 | 67 | 212 |
| Revenue | $8,700 | $4,020 | $12,720 |
| No-shows | 3% | 1% | 2.3% |
| Avg Value | $60 | $60 | $60 |
Use these insights to optimize staffing and identify which channels need attention.
Best Practices for Multi-Channel Booking
1. Maintain Consistent Pricing
Customers shouldn't see different prices for the same service online vs in-store. Easy Appointment Booking syncs pricing automatically.
2. Train Your Staff
Your POS booking integration is only as good as the people using it. Regular training ensures:
- Consistent customer experience
- Accurate data entry
- Efficient check-in process
- Proper handling of edge cases
3. Use Customer Notes Effectively
Encourage staff to add notes after appointments:
- Service details and preferences
- Product recommendations made
- Topics discussed
- Follow-up needed
These notes appear the next time the customer books, whether online or in-store.
4. Monitor Both Channels
Set up alerts for:
- Low availability (time to add staff?)
- High no-show rates (reminder strategy working?)
- Channel performance (is one underperforming?)
Troubleshooting Common Issues
Sync Delays
If appointments aren't appearing immediately:
- Check your internet connection at the POS terminal
- Force sync from Settings → Sync Now
- Verify the location is properly connected
Double Bookings
This usually happens when manual bookings don't go through the system:
- Always use the POS booking tile for walk-ins
- Train staff to never book "off the record"
- Enable double-booking protection in settings
Customer Not Found
If a customer can't be found at check-in:
- Try searching by email or phone
- Check for typos in the original booking
- Look up the confirmation code instead
Ready to unify your online and in-store booking experience? Connect your Shopify POS today and give your customers the seamless experience they expect.